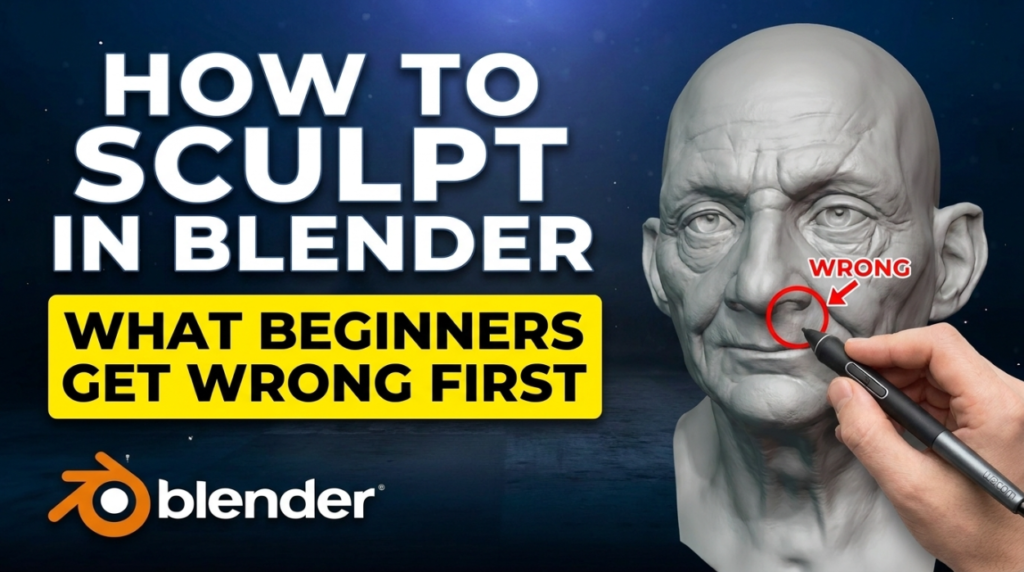
Blender’s sculpting tools are genuinely competitive with ZBrush for most work, and they cost nothing. The problem is that almost every tutorial starts with brushes, which is the wrong place to start.
Start with topology, or you will spend your first month confused about why your sculpt keeps falling apart.
The Thing Nobody Tells Beginners First
You cannot sculpt detail into geometry that has no geometry. If your object has 8 faces, no brush will give you a wrinkle.
Blender gives you three ways to add resolution, and picking the wrong one is the single most common beginner mistake:
- Dyntopo — adds geometry under the brush as you go. Great for rough blocking, destroys UVs, and gets slow.
- Voxel Remesh (Ctrl+R) — rebuilds the whole mesh at an even density. The workhorse. Use it repeatedly as you refine.
- Multiresolution modifier — adds subdivision levels you can move up and down between, preserving the base cage. Best when you already have good topology.
For a first sculpt: block the form, voxel remesh, refine, remesh again at higher density, repeat.
The Brushes That Actually Matter
There are dozens. You need about six:
- Draw — adds or subtracts along the normal. Your default.
- Clay Strips — builds volume in flat slabs. The brush most character artists live in.
- Grab — pulls large regions. Use it for proportions, before detail.
- Smooth (hold Shift with any brush) — the most-used function in sculpting.
- Crease — sharp folds and seams.
- Inflate — pushes surface outward along normals.
Ctrl inverts any brush. That is half the toolset for free.
Masking and Face Sets Are the Real Power Tools
Beginners sculpt everything freehand and fight themselves constantly. Two features fix that:
Masking (hold Ctrl and paint) protects areas from being affected. Mask the torso, sculpt the arm, no bleed.
Face Sets divide your mesh into logical regions you can isolate, hide or grow selections from. On a character, separate head, torso and limbs early and everything gets easier.
Settings That Fix “My Sculpt Looks Bad”
- Turn on Dyntopo relative detail or use voxel remesh — uneven density is why forms look lumpy.
- Enable symmetry (X axis) for characters, and remember to turn it off before asymmetric detail.
- Use a matcap viewport shading instead of default lighting — you cannot judge form under a flat grey light.
- Keep brush strength low. Most beginners sculpt at 100% and produce mush.
Do You Need a Drawing Tablet?
You can sculpt with a mouse, and plenty of people do. But pressure sensitivity controls brush strength continuously, which matters enormously for subtle work. A cheap tablet improves sculpting more than a GPU upgrade will.
What Comes After the Sculpt
A finished sculpt is millions of triangles with no usable topology. Before you can rig, animate or put it in a game, it needs retopology — and that is a separate craft.
For static renders, you can skip it. For anything that moves, you cannot.
Is Blender Good Enough Compared to ZBrush?
For most work, yes. ZBrush still handles extreme polygon counts more gracefully and has a deeper brush and alpha ecosystem. But the gap is now a professional-preference gap, not a capability gap — and Blender is free.
More free tools in the 3DxDEV Library.