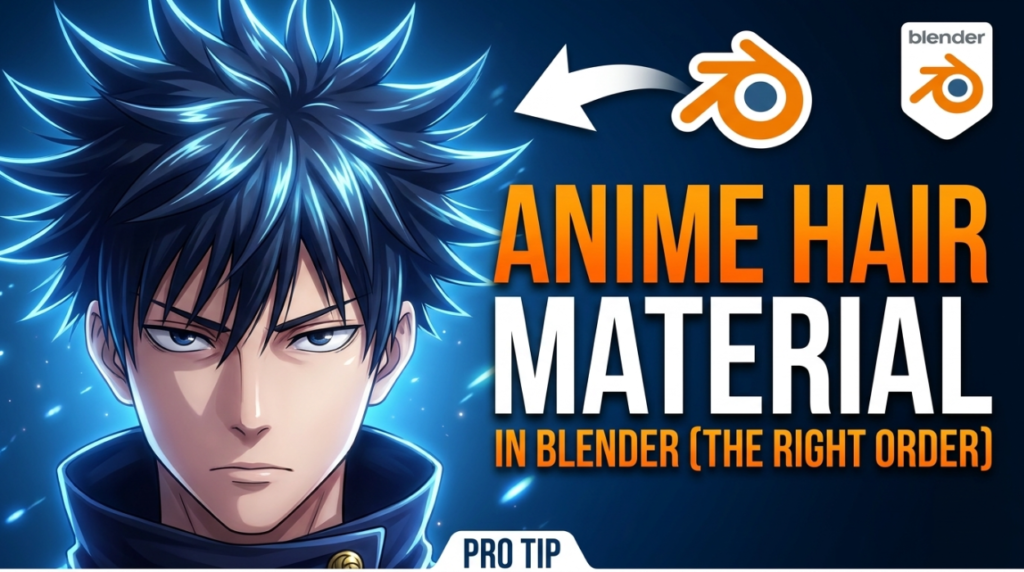
Anime hair is one of the hardest things to get right in 3D, and the reason is that almost nothing about it is realistic. Copying reference photographs will actively work against you.
Here is what the look is actually made of, in the order that matters.
Hair Cards, Not Strands
Start here, because the geometry decides everything downstream.
Realistic hair uses thousands of individual strands. Anime hair does not — it is built from clumps, treated as solid shapes with clear silhouettes. In 3D that means modelled cards or planes, not a particle system.
Strand-based hair will never read as anime, no matter how you shade it, because the style depends on hair behaving like sculpted forms rather than individual fibres.
The Highlight Is the Whole Look
The band of light that wraps around the head — the “angel ring” — is the signature of anime hair, and it is not a specular reflection.
A real specular highlight follows the surface normal and breaks up across a curved, clumpy form. The anime highlight does the opposite: it holds as a clean continuous band, roughly following the skull, ignoring the individual hair clumps entirely.
That is why faking it with roughness and specular never works. It is a shape decision, not a lighting result — typically driven by a gradient or ramp positioned relative to the head, sometimes with a hand-authored texture defining exactly where the band sits.
Getting this one element right does more for the look than everything else combined.
Custom Normals Are Not Optional
This is the technical step that separates work that reads cleanly from work that looks broken — and it is where most attempts fail.
Hair clumps have complex, overlapping geometry. Shade that with its real normals and the highlight band shatters into patches, because each clump faces a different direction.
The production solution is projecting normals from a simplified proxy, usually a sphere approximating the skull. The hair then shades as though it were one smooth dome, so the highlight band stays continuous across every clump.
Easy Custom Normals handles exactly this in Blender. If your hair highlight looks blotchy or fragmented, this is almost certainly the cause — not your shader.
Three Tones, Not a Gradient
Anime hair typically uses a small number of flat values: a base colour, a shadow, and the highlight. Sometimes a fourth accent.
Use a colour ramp with hard or near-hard stops rather than a smooth falloff. Smooth gradients read as 3D shading; discrete bands read as drawn.
One detail worth copying from 2D artists: the shadow colour is usually shifted in hue, not just darkened — often toward blue, purple or a complementary tone. A shadow that is simply a darker version of the base colour looks computed. A shifted one looks painted.
Transparency at the Tips
Hair card edges need alpha to avoid hard geometric silhouettes where strands should taper. Use an alpha texture on the card tips so clumps thin out naturally.
Watch your sorting though — overlapping transparent cards are a classic source of rendering artefacts, particularly in real-time engines. Alpha clip is often safer than alpha blend for game work.
Rim Light Sells the Separation
A thin light along the silhouette edge separates hair from the background and from the character’s own shoulders. Anime uses it constantly, and it costs almost nothing to add.
Keep it tight and bright rather than soft and wide — a soft rim reads as atmospheric 3D lighting, a hard one reads as a drawn line.
Outlines: Optional, and Style-Dependent
Some anime hair carries an outline, some does not. If you want them, our line art comparison covers the four methods Blender offers and where each breaks.
Note that outline width often depends on normals — so custom normals help here too, for the same reason.
Which Renderer
EEVEE. You are deliberately removing physical accuracy, so path tracing buys you nothing and costs iteration speed — and this style requires a lot of iteration on ramps and highlight placement.
See our EEVEE vs Cycles comparison.
The Order to Work In
- Model hair as clumps with strong silhouettes
- Project custom normals from a sphere proxy
- Set up a three-tone ramp with a hue-shifted shadow
- Add the highlight band as a driven shape, not a specular
- Alpha the tips, add rim light, then outlines if the style calls for them
Doing these out of order is why people rebuild the shader repeatedly — no shading fixes bad normals, and no normals fix strand-based geometry.
Full workflow in our guide to clean anime and toon shading in Blender, and more stylised tooling in the 3DxDEV Library.