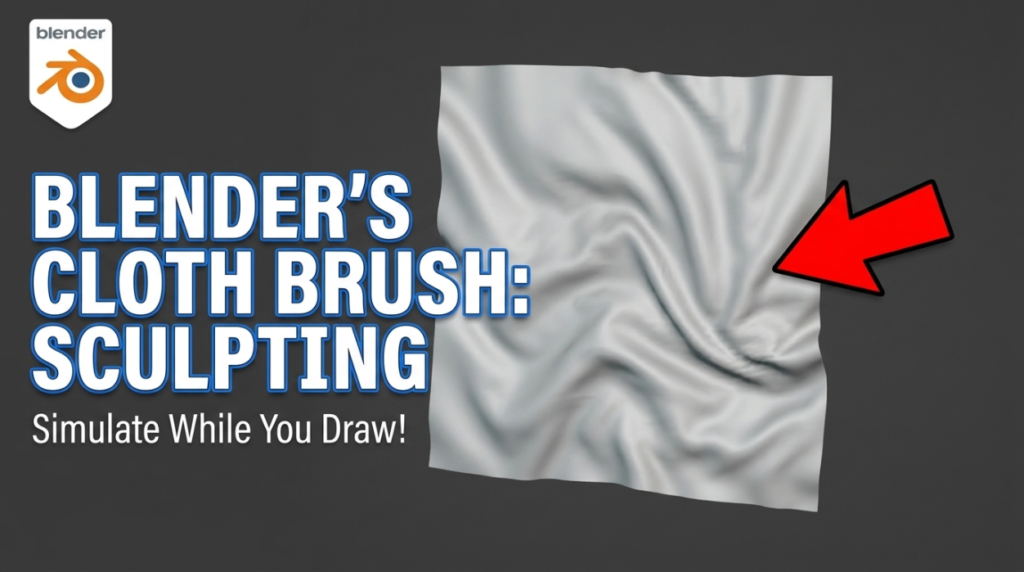
There is a brush in Blender’s Sculpt Mode that runs a live cloth solver while you draw. No cloth modifier, no simulation bake, no weight painting, no pinning vertex groups. You drag, and fabric folds the way fabric folds.
It arrived in Blender 2.83 in 2020 and most people scrolled straight past it. Six years later it is still the fastest way to get believable folds into a sculpt — and it is still one of the most underused tools in Blender.
What Is the Cloth Brush in Blender?
The Cloth Brush is a Sculpt Mode brush that applies a real cloth simulation to the area under your cursor. Rather than pushing vertices around like a normal sculpt brush, it feeds them into a solver that understands tension, mass and damping — so the geometry settles into folds instead of smearing.
The critical distinction: this is localised simulation. Running a full cloth sim on a multi-million-poly sculpt would bring most machines to their knees. The Cloth Brush only simulates near the brush tip, which is what makes it fast enough to feel like sculpting.
How Do You Use the Cloth Brush?
Enter Sculpt Mode and pick the Cloth brush. Three things matter more than anything else before your first stroke:
- Mesh density. The solver needs vertices to work with. On a low-poly plane you will get almost nothing; on a dense mesh you get folds. Remesh or subdivide first.
- Change the deformation type. The default Drag is the least controllable option, which is exactly why so many people try the brush once and give up.
- Mask what should stay put. Masked vertices act as pins — this is how you anchor a shoulder or a waistband so fabric hangs from it.
The Eight Deformation Types (This Is the Part People Miss)
The Cloth Brush is really eight brushes hiding behind one dropdown:
- Drag — pulls cloth toward the cursor, like a finger dragging a tablecloth. The default, and the hardest to control.
- Push — pushes fabric away from the cursor.
- Pinch Point — gathers cloth into a single point. Ideal for a fabric cinch or a knot.
- Pinch Perpendicular — pinches along a line rather than a point, creating seams and creases.
- Expand — grows the affected area outward.
- Inflate — puffs the surface, useful for padding, quilting and stuffed forms.
- Snake Hook — pulls fabric out into extended forms while the solver keeps it behaving like cloth.
- Grab — the one to learn first. Blender’s own documentation says it produces more natural-looking folds than any other mode, because it adjusts deformation constraints per brush step to interfere with the simulation as little as possible.
If you take one thing from this article: switch from Drag to Grab and the brush stops feeling broken.
Simulation Area — The Setting That Changes Everything
Under the brush settings, Simulation Area decides how the solver is scoped:
- Local — constrained to where the stroke began. Fast, predictable.
- Global — the whole mesh participates. Accurate and slow.
- Dynamic — the active area follows the brush within a fixed radius, adding constraints as the stroke moves. This is the sweet spot for most work and the reason the brush became genuinely usable.
Alongside it: Simulation Limit caps the effect relative to brush radius, Simulation Falloff softens the transition to untouched geometry (shown as a dashed ring around your cursor), and Pin Simulation Boundary locks vertices in that falloff zone to prevent artifacts at the edges.
Mass, Damping and Shape Preservation
Three sliders control what kind of fabric you are sculpting:
- Mass — weight per simulation particle. Higher reads as heavy canvas or leather; lower reads as silk.
- Damping — how far forces propagate through the cloth.
- Shape preservation — how strongly the mesh holds its original form, effectively behaving like a soft body. Raise it for padded or upholstered surfaces.
Force Falloff switches between applying force as a sphere (radial) or a plane, which matters when you want a flat crease rather than a rounded dent.
What Is the Cloth Filter?
Sitting near the Cloth Brush is the Cloth Filter, added in Blender 2.90. Same solver, but applied to the entire mesh at once rather than under a brush.
Filter types include Gravity, Inflate, Expand, Pinch and Scale. Gravity is the useful one: mask the shoulders of a shirt, run the gravity filter, and the rest of the garment drapes downward under its own weight. It is the closest you will get to a real drape without leaving Sculpt Mode.
Can It Collide With Other Objects?
Yes, since Blender 2.91. Enable Use Collisions on the brush, and give the collider object a Collision physics modifier. The solver uses raycast-based collision, so it works against any geometry — including non-manifold meshes — and stops vertices at the surface.
One limitation worth knowing: if a cloth vertex starts inside the collider, the solver cannot push it back out. Position your garment outside the body before you start.
When You Should Not Use the Cloth Brush
Being honest about this saves a lot of wasted time. The Cloth Brush is for sculpting folds into geometry that already exists. It is not a garment construction tool.
If you need a tailored jacket built from flat panels, that is pattern-based work — see Marvelous Designer. If you need cloth that animates with a character, you want the actual cloth modifier with a proper simulation. And if your mesh is low-poly, the brush will underwhelm you no matter which settings you pick.
Cloth Brush vs Cloth Simulation vs Pattern Tools
- Cloth Brush — art-directed folds on a static sculpt. Fast, controllable, free.
- Cloth modifier — physically accurate, animatable, slower, harder to art-direct.
- Pattern-based tools — build real garments from 2D panels. The only option when construction accuracy matters.
Most character artists use all three: pattern or block the garment, simulate the drape, then sculpt in the hero folds by hand because a solver does not know which wrinkle the camera cares about.
Frequently Asked Questions
Which Blender version has the Cloth Brush?
It was introduced in Blender 2.83 (2020). The Cloth Filter followed in 2.90, and 2.91 added collisions, the Snake Hook deformation and the dynamic simulation area. Every version since has it, so anything modern is fine.
Why is my Cloth Brush doing nothing?
Almost always insufficient mesh density. The solver needs vertices to move. Remesh or add subdivisions and try again. Failing that, you are probably on Drag — switch to Grab.
Can I use the Cloth Brush for animation?
No. It is a sculpting tool that modifies mesh data. For animated cloth, use the cloth physics modifier.
Does it work on any mesh?
Technically yes, but it is designed for dense sculpts. Use masking to pin the areas that should not move, and Face Sets to constrain which regions participate.
The Wider Point
The Cloth Brush is a good example of something that happens often in Blender: a genuinely powerful feature ships, gets a release-notes mention, and then quietly sits in a dropdown while people buy add-ons to solve the same problem.
It did not stop developing in 2020 either — the filter, collisions and dynamic simulation area all arrived later, which is why advice written in 2020 undersells what the tool does today.
Explore more free Blender tools in the 3DxDEV Library, or browse our full 3D resources directory.