Getting clean outlines from a 3D model is one of those problems that sounds trivial and is not. Blender gives you at least four ways to do it, all with real drawbacks, and none of them is a button labelled “outlines.”
A new free tool changes that, and it is worth understanding why it works differently.
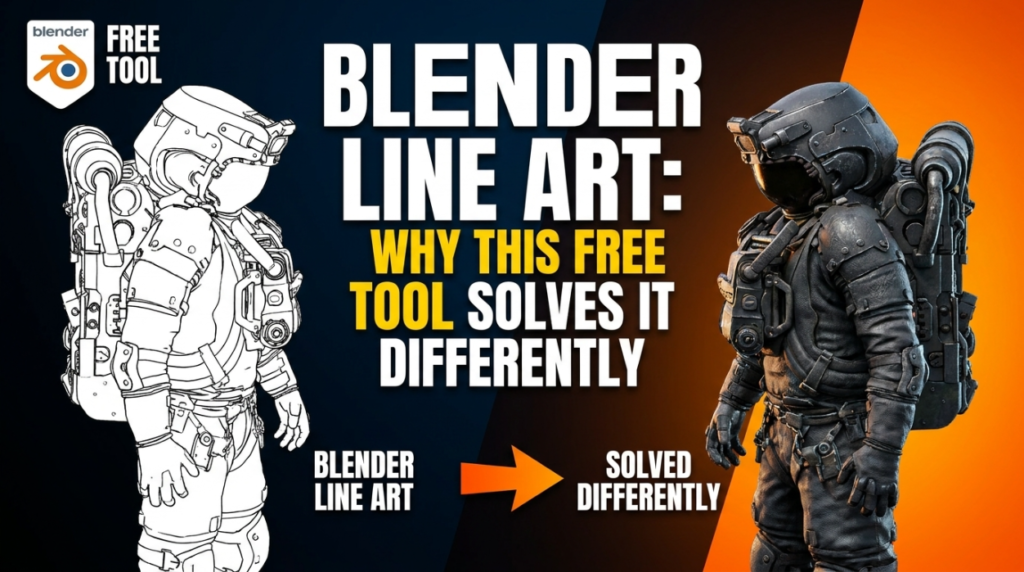
The Four Existing Methods, and What Is Wrong With Each
Freestyle produces genuinely excellent lines with fine control. It is also Cycles-only, slow, and does not preview in the viewport — you render to find out what you got.
Inverted hull — a duplicated mesh with flipped normals and backface culling — is fast and works in EEVEE. It also duplicates your geometry, breaks at hard edges, and produces uneven line weight on complex forms.
Compositor edge detection from depth and normal passes works well and requires building a node tree that is genuinely fiddly to get right.
Grease Pencil line art is powerful and is essentially its own workflow to learn.
None of these is wrong. All of them are more work than the problem feels like it deserves.
The Colour Separation Approach
FreePencil2, from Japanese anime producer Masamune Sakaki, takes a fifth route: colour separation.
The model is automatically coloured using vertex colours, and the boundaries between colour regions are detected as lines via edge detection in the compositor. Because the underlying principle is simple, it is fast — a 1.28 million polygon model processes in under 30 seconds.
This technique is not new in itself. What was always hard was the pre-processing: deciding how to colour the regions so the boundaries land where you want lines.
What Actually Got Solved
The automation is the contribution, and it is more thoughtful than “press button, get lines”:
- Division angle is derived from the distribution of dihedral angles in the mesh — so the threshold adapts to the model rather than being a fixed guess
- Adjacent regions always receive different colour classes, guaranteeing every boundary is detectable
- Tiny regions merge automatically, preventing noise
- Touching parts get tone differentiation, so contact points still read
- Rig detection drives bone-level colour separation
That last one is the interesting idea. Using the armature to inform region separation means the line work follows the character’s structure, not just its surface angles — which is closer to how a human artist decides where lines go.
Why Speed Matters Here
Line art is iterative. You generate, look, adjust, generate again. A method that takes minutes per attempt discourages the iteration that actually produces good results.
The developer reports 155 parts finishing in 5.5 seconds, with line volume adjustable afterwards on a slider. Being able to tune density after generation is what makes a one-click tool usable rather than a novelty.
The Part No Tool Fixes
Line art quality is downstream of your model. Clean topology with deliberate hard edges gives clean lines. Messy geometry gives messy lines, in any tool.
Normals matter just as much — outline behaviour often depends on them, which is why toon characters develop wobbly lines that people blame on the outline method. See Easy Custom Normals for that specific problem.
Where This Sits
NPR and anime-styled rendering is one of the faster-growing areas in Blender, and it has been running on community tooling and hand-built node setups for years. Blender’s own roadmap now lists native NPR among planned work — see our Blender 5.3 guide.
Until that lands, tools like this are how the gap gets filled. Worth noting too that it comes from the Japanese Blender community, which consistently produces stylised tooling that English roundups miss — our resources directory lists the sites worth following.
Full workflow in our guide to clean anime and toon shading in Blender.